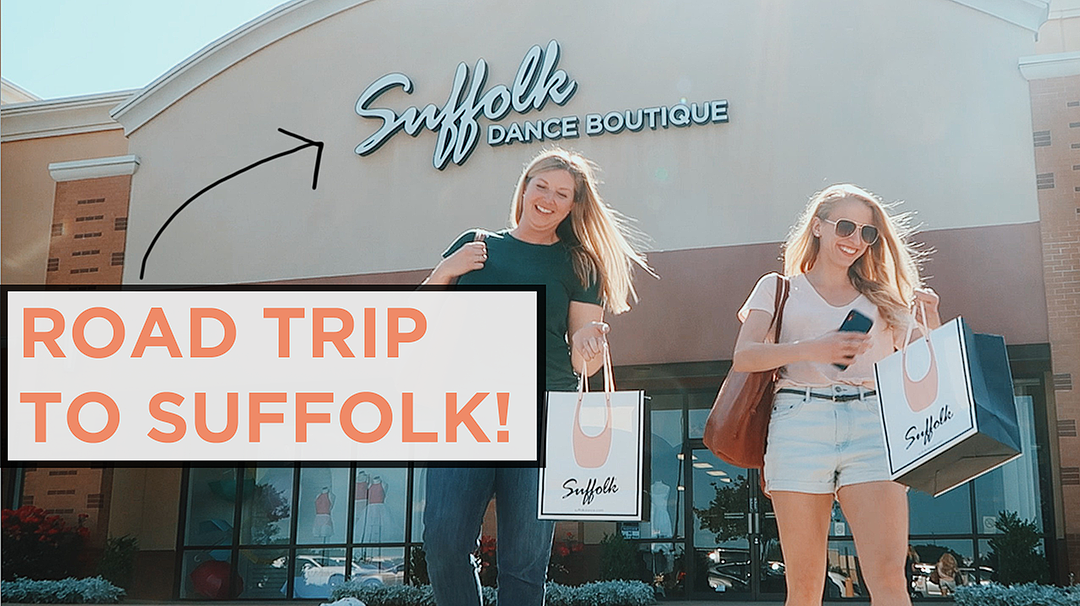
I've been saying for two months I need to get another pair of pointe shoes before I go to the artÉmotion Adult Ballet Summer Intensive, but I FINALLY did it this week! And made a fun road trip day out of it - vlog and all!
I needed another pair of Suffolk Stellars and my friend, Kristin, needed to try a variety of shoes since she has been having a really hard time finding a good pointe shoe for this phase of her dance life! We remembered the Suffolk Dance Boutique is only a 3 hour drive from us, so we decided to go there and make a day of it!
We discovered this store is gigantic and carries all kinds of brands (including Yumiko! What?!) and we both had success with our shoes!! They also had bins of discounted leotards for $10 so we both ended up with the same floral print leo but in different colors, haha :)
To make the most of our drive down, we then found a nearby park and did a little photoshoot of each other while we waited for rush hour traffic to die down!
It was a super fun day and has me extra excited for our upcoming Intensive! If you want to join me, here's a link with info (June 3-8 in Salt Lake City). If you do enroll, use code "CARSON35" for a tuition discount! :)
Since we've been on the topic of pointe shoes lately, I thought I would share another way to tie your pointe shoe ribbons that I learned about a month ago (we have another version here)! I had never seen this technique before but it allows you to get that sleek, knotless look. It would also be really great for sewing your ribbons together if you are performing!
1. Start with your outside ribbon. Wrap it around your ankle (I like to flex my foot when I do this).
2. Then take the inside ribbon and wrap it around your ankle. When you take it around, keep it below where the outside ribbon is already placed. You will probably need to wrap it around twice, so when you do, keep the ribbon aligned together.
First wrap
Second wrap
3. Double knot the two ends of your ribbon together where there is a dip next to your ankle bone. Then fold together the leftover ends and tuck them under the ribbon.
4. Then run your finger gently under the inside ribbon all the way around to the knot. This will give you a small amount of slack at the knot to move the ribbon up and completely hide your knot. It's a very small adjustment, but very effective!
Voila!
I've also done a video version of this, so make sure to check that out below:
Thank you to my teacher, Pat, for sharing this technique!
It seems many of you are reaching your goals of going on pointe! So first off, Congratulations!! There is no more exciting a time for a ballet dancer than getting pointe shoes for the first time! :)
If you are completely new to pointe shoes as an adult, you may be wondering just what to expect when you go to the store to get fitted. There is so much build up to this moment, that it can be a bit nerve-wracking when it gets here. It's the first time you'll actually stand on pointe! But no need to panic. You will be great :)
Below I've compiled some tips & information to help you prepare!
Attire
If you plan to dance in your pointe shoes with pink tights over your feet, wear pink tights to your fitting. If you plan to dance in them barefoot, try them on without tights. Wear shorts, yoga pants, or loose pants that you can easily roll up so you can see what's going on with your feet and ankles. Full ballet class attire is not necessary.
What to Bring
If you are brand spankin' new to pointe, then you'll want to purchase some kind of toe pad either online beforehand or at your dance store. I really like the Ouch Pouch Jr. Large. Once you've been on pointe for awhile and have an idea of what kind of toe protection you like best, make sure you bring that to every fitting after. The general rule is that you don't want too much protection on your feet because you still want to be able to "feel the floor". I, personally, wear my Ouch Pouches with the Bunheads Big Tip on my second toes because they are crazy long and I lose my toenails without them! I'm currently not using toe tape since getting back on pointe in December, but when I do need it, this stuff is amazing. Don't buy the off brand version because it does not work as well!
What Will Happen
The person fitting you will first measure your feet for length & width. They will also take note of your toes shape & length, and your arch height. Based on this information they should have an idea of what shoes to start with. If you want more background information on that process, Abby and I go into more detail about the different parts of the pointe shoe and how they fit different feet types in our Intro to Pointe Shoes video.
From there, I would say the trying on process can be as quick as a 1/2 hour, to as long as 2 hours if you're a first timer. It can be tricky the first time around to understand what you should consider "comfortable" because honestly, you're standing on your toes, it's not like trying on jazz shoes or soft slippers! BUT, I do think you will notice the sweet spot of comfort after trying on many different types of shoes.
You should try on as many pairs as you need until you find a pair that:
Allows your toes to lay completely flat (no curling or scrunching) when standing.
Feels snug around your foot and toes, but doesn't pinch anywhere when standing, on pointe, or on demi-pointe.
The shank/sole stays even with your foot (no movement to the side when on pointe).
Allows you to get fully over the platform (flat portion at the end of the shoe) without buckling over.
There are many more factors than those three, but I think those are some big ones to be aware of when your fitter is asking you questions about how a shoe feels. The more you can communicate what's happening inside your shoe, the quicker the fitting process will go (not that you have to be quick. please take your time!). If you happen to get a really good fitter, they will know before you ever even go on pointe if a shoe is going to work or not! Which brings me to...
Final Tips
If possible, go to a well-recommended dance store that carries a variety of pointe shoe brands. Twice I have driven 3 hours to get a really good fitting at a superb dance store!
The person fitting you should bring out as many shoes as needed until you find a fit. If you don't find a fit, or they seem annoyed to bring out more than three pairs of shoes, I would take your business elsewhere.
Before you sew or do anything to your shoes, have your teacher look at you in them to double check they are a good fit!! Pointe shoes can not be returned if the satin is scuffed or the shoe has been altered in any way!
Let me know in the comments below if this was helpful to you! I'd love to hear about your first fitting experiences if you'd like to share! And if you fancy watching me talk about these tips, check out our corresponding video right here!
We have had several questions about this, so I'm excited to address it in a blog. As with almost everything in ballet, sewing your pointe shoe ribbons is a very individual thing. Everyone's feet are different, and will need a slightly different placement. This is why I believe in learning to sew your own shoes! (But believe me, I feel the pain of disliking sewing shoes - it can feel like a daunting task!)
Additionally, I believe sewing your own shoes gives you both ownership and pride about the privilege of wearing pointe shoes, as well as a much greater control over them. If you can sew them yourself, and one day a stitch pops and the ribbon comes off, you can have them fixed in 5 minutes, as opposed to having to wait for someone else to fix them for you.
I have my routine down so that I can sew a pair of shoes in about 30 minutes, by hand. I prefer to sew by hand because I double up my thread, and use rather thick thread. You can also use dental floss. I never have, but I hear many dancers do. Comment below about what you use!
Here are my shoes:
First of all, notice that I cross my elastic. Not everyone will need or want to do this, but it works well with my foot because it supports my ankles. I also like the fact that I can sew the top ribbon and elastic at the same time, which is a huge time saver.
On the outside, it still has a very clean look, with just two sets of stitches.
Here you can see the inside where the ribbon and elastic are sewn together.
Here are several videos on how to sew pointe shoes, so you can see some different perspectives. Remember, in the end, it's all up to what works for you and your foot! You should also consult your teacher or coach to make sure that they don't have any specific requirements at their studio. Some places are more strict about all elastic and ribbons being sewn on the inside; some think they should be sewn on the outside. Always follow their recommendations/requirements first!